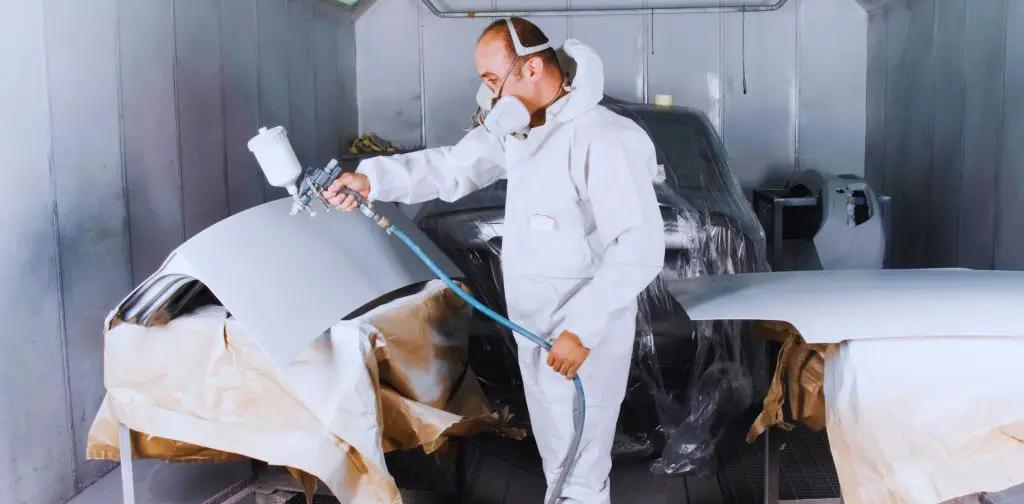
We at PaintingLeader are passionate about painting all year round, no matter what Mother Nature throws our way. Are you ready to embrace the challenge of spray painting in cold weather? The crisp air, chilly breeze, and perhaps even a touch of snow can set the stage for unique painting opportunities. In this guide, we’ve combined top tips from seasoned painters and from our own experience to help you elevate your cold-weather spray painting project.
Table of Contents
Conquering the Chill: Spray Painting in Cold Weather
Imagine this scenario: It’s a picturesque winter day, and the urge to refresh your outdoor furniture or enhance your home’s exterior strikes. But there’s one major snag – it’s cold, really cold! Can you produce exceptional spray-painting results when the weather isn’t cooperating? Absolutely! Let’s look at these professional tips to make sure your next spray-painting project is perfect, even in the coldest weather.
Time it Right
Start painting when temperatures are on the rise, not plummeting.
Track the Temperature
Measure both the air temperature and the object’s temperature before you begin painting. You can use a non-contact infrared thermometer.
Choosing the Ideal Paint
Your first step in cold-weather spray painting is selecting the right spray paint for the job. Most paints are engineered for warmer temperatures, but some are made to work well in the cold too.
When it gets really cold, your spray paint can struggle to work properly. Cold temperatures cause your paint to thicken and even congeal inside the can. No matter how vigorously you shake that can, your paint won’t flow smoothly through the sprayer. The result? Thick, uneven blobs of paint on your surface – a messy problem that no artist wants.
But that’s not all. The cold can play tricks on your paint’s color and extend its drying time to a snail’s pace.
Solvent-Based Paints: Ideal for Cold Weather
When the temperature drops, solvent-based paint products become your best friend. They don’t freeze like their water-based counterparts, even when the mercury drops below 32°F, and they adhere wonderfully to cold surfaces. Despite some downsides, like more fumes and the need for specific thinners during cleanup, solvent-based paints stick really well to cold surfaces, making them the best choice for spray painting in cold weather.
Most paint manufacturers sell paints that you can use in temperatures below 32°F. Every spray paint can tell you the minimum surface temperature you can use it. Some spray paints work better on wood, some on metal, and some are multi-purpose.
Remember that paints might thicken and freeze, if not treated with an additive. If your paint has frozen what should you do? Well, if you still need to use this paint, you must first check if it has lumps in or not. If you see lumps and the paint isn’t smooth, then it’s the sign that the paint is no longer usable, and you should throw it away.
Do your research and find a paint that is good quality and can work in the weather condition for your area.
Pay Attention to Surface Temperature
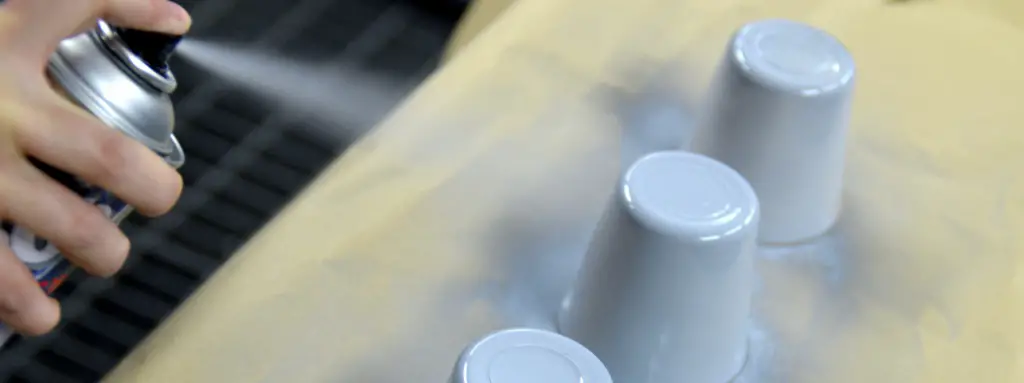
To make sure the paint sticks well, you need to watch the surface temperature carefully. Before beginning your project, use a thermometer to gauge the surface’s warmth. Surprisingly, the chilly outdoor surface might not be as cold as you think, especially if it’s been soaking up indoor warmth.
The best temperature for spray painting is between 50°F and 90°F with humidity below 85%. Anything outside of those conditions can be tricky and ruin the final result.
Keep Your Paint Cozy
Cold paint can be a real headache, thickening and becoming challenging to work with. Keeping your paint at an ideal temperature is crucial. Store it in a warm environment or consider investing in a paint heater.
It’s not just your paint; your chosen item to paint also feels the chill’s impact. If it’s too cold, the paint might not stick properly. To ensure a smooth and professional finish, it’s important to maintain a consistent, normal temperature for both your paint and the object you’re transforming.
Assess Your Workspace
Heating your workspace can be a game-changer in cold-weather painting. Depending on your project’s size, consider creating a controlled work area. If you have the ability to enclose the workspace, renting a large air replacement unit can help warm the area. This, in turn, keeps the surface and paint at the perfect temperature. Remember, it’s ideal to paint in a ventilated area indoors with windows and doors open.
Before you begin painting, clean the project area thoroughly and allow it to dry completely.
If you are painting a hard surface, use rubbing alcohol to wipe away any dust or debris. For wood surfaces, use a tack cloth to thoroughly remove sanding and dust.
Watch out for areas around screws or nails and small crevices where dust gathers.
Ensure You Have Proper Paining Tools
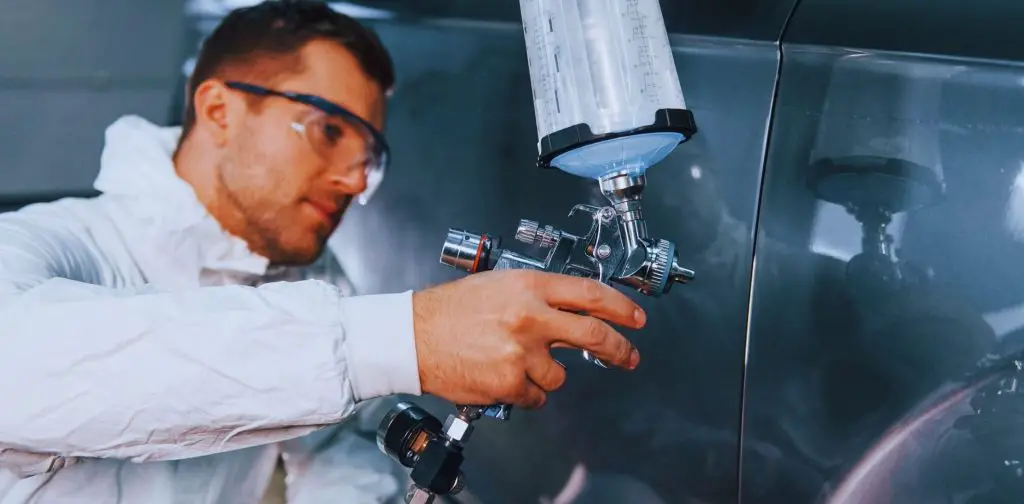
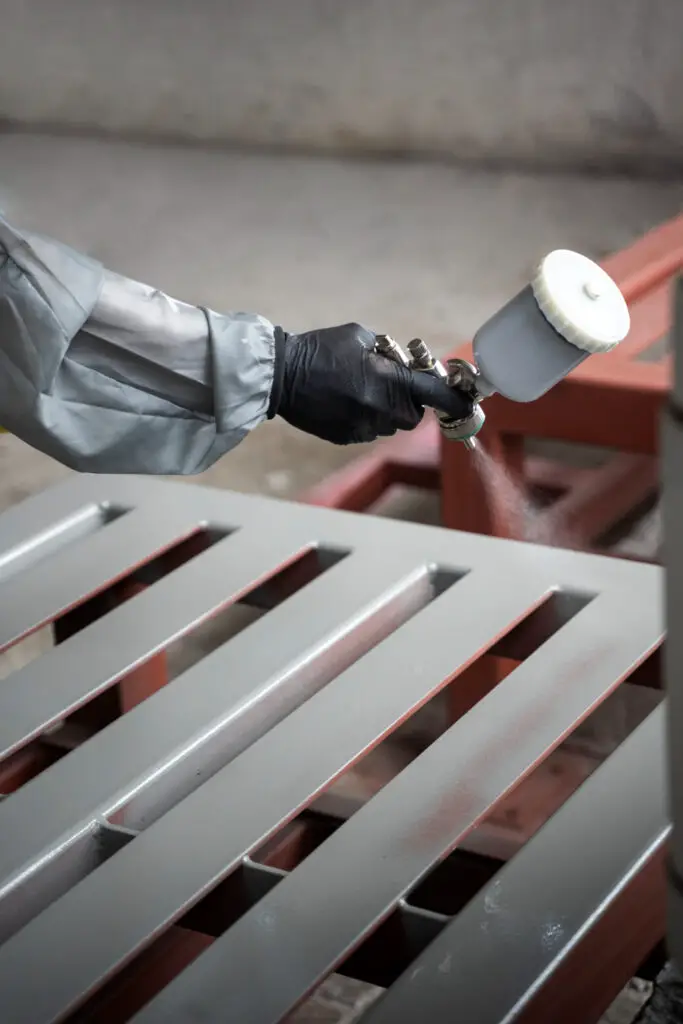
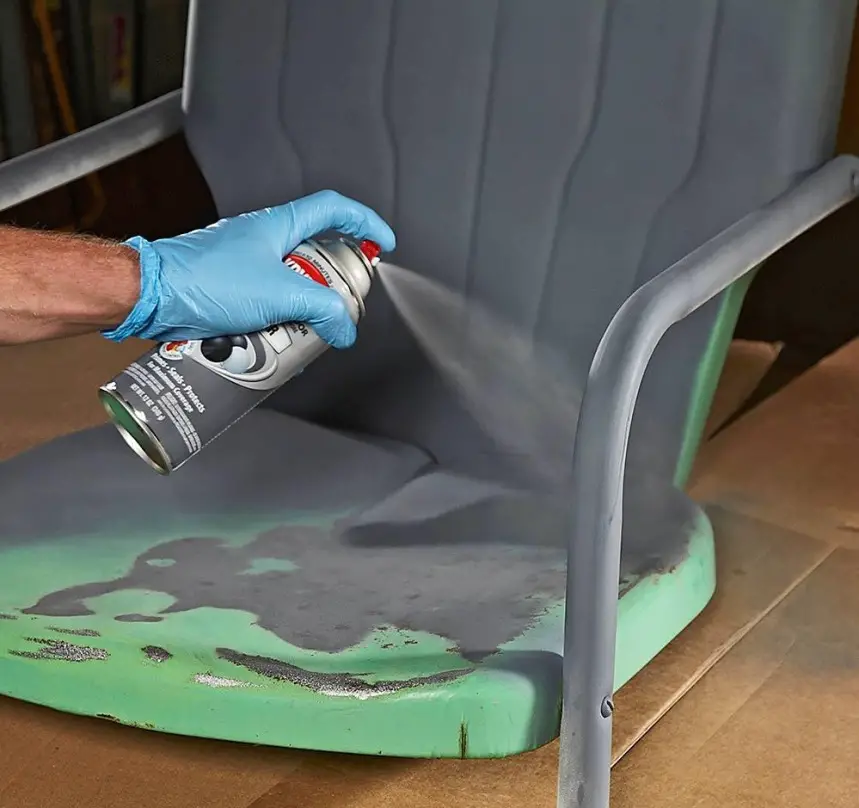
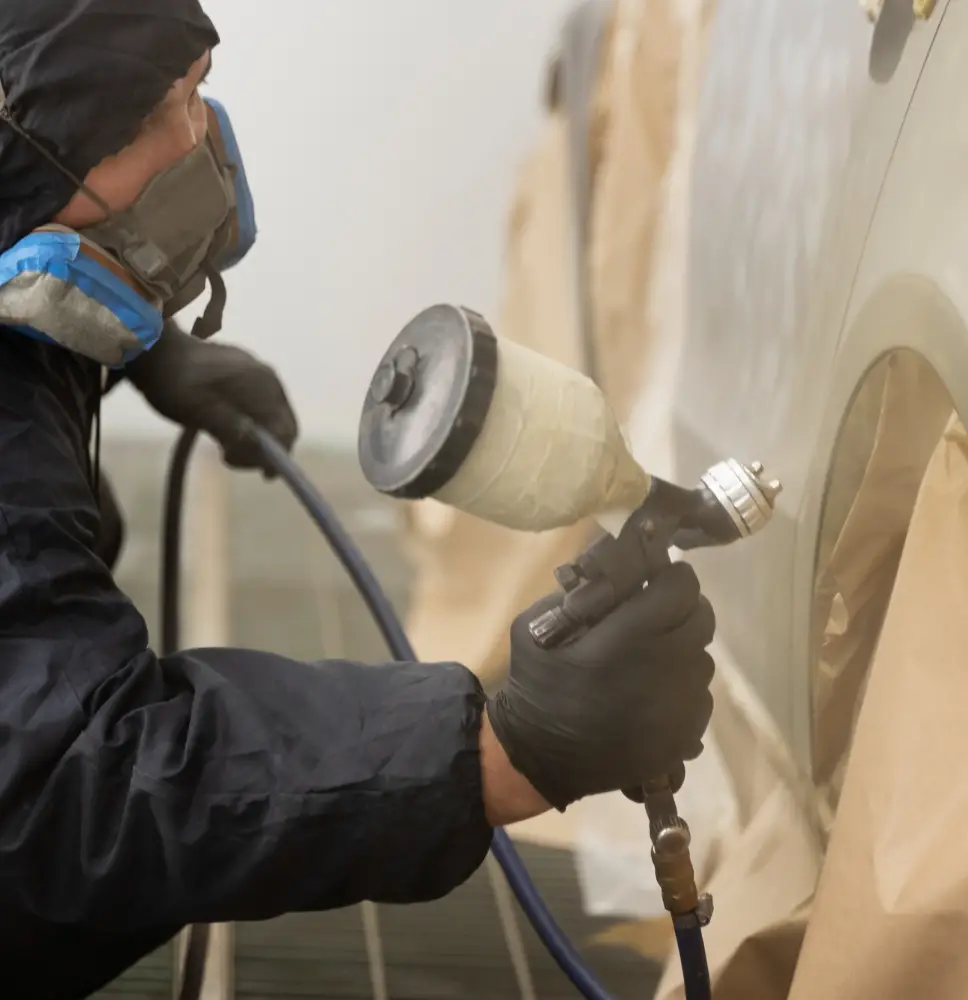
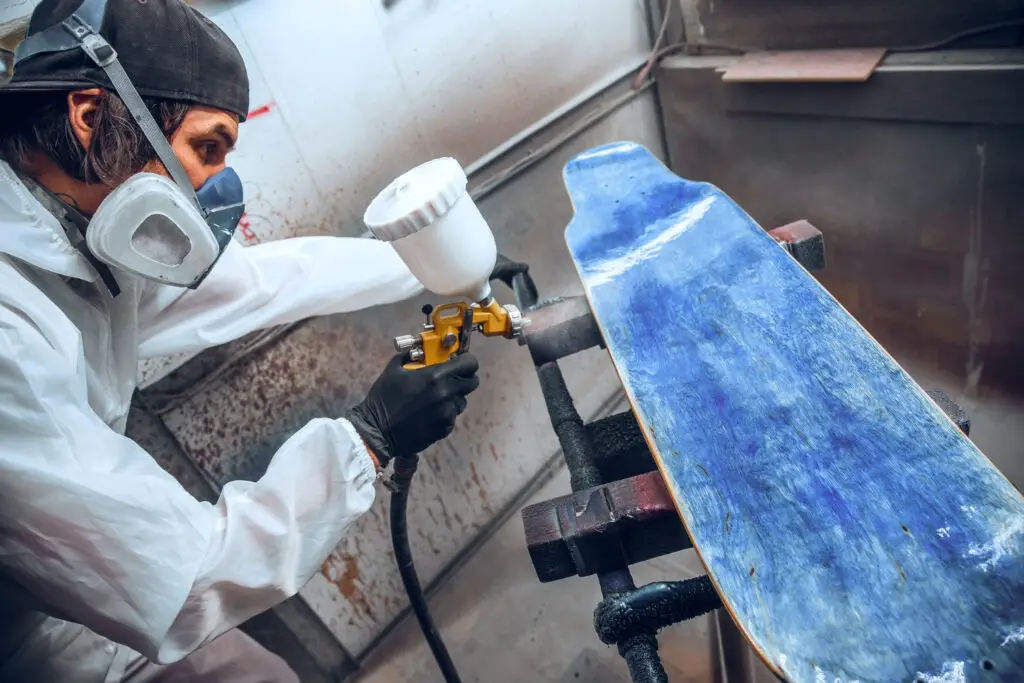
Before you begin, make sure your spray gun is free from ice or any obstructions. A blocked gun can be a nightmare in cold weather, causing jams and clogs. Properly clean the gun to avoid these issues.
Opt for Quality Nozzles: If you have issues with uneven spray patterns, consider upgrading to a high-quality nozzle. A superior nozzle can make a difference in achieving even coat of paint.
Adjust Your Angles: The angle at which you spray can significantly impact your results. Experiment with different angles to find what works best for your project. Sometimes, a simple adjustment can make all the difference.
Fine-tune with HVLP: If you’re using an HVLP (High Volume, Low Pressure) spray gun, controlling the PSI (Pounds per Square Inch) setting is crucial. Lowering the PSI can be a game-changer. It gives the paint more time to dry before reaching the surface, ensuring each coat is even and smooth without the risk of pooling or running.
You may read this article if you want to know about airbrush vs spray paint. It will help you better understand these painting tools.
Ensure Clean Surface
A clean surface is crucial. Any lingering moisture on the object’s surface can lead to problems. Check it carefully for frost or moisture – a close check will help you get the best paint job.
Use Primer To Help With Adhesion
After cleaning, apply a primer on the surface to help the primer stick better. Primer creates a solid base and makes the colors stand out. For a top-quality finish, don’t skip the primer!
A primer is designed to help with adhesion. Since cold weather can affect adhesion, we recommend applying a primer before spray painting. The primer will help bond the paint to the surface you wish to spray paint.
For the best results, you should use a primer designed for your surface. For example, if you are painting galvanized metal, use a primer designed for galvanized metal.
This minor detail can have a huge impact on how well the spray paint sticks to the surface you want to paint; this has been proven by our tests and trials.
Don’t start the main painting project right away. Always do a test patch first before applying paint, ideally in a less visible area, to see how the paint works in the cold.
Equip Yourself for Proper Equipment Storage
After finishing your project, make sure to take care of your equipment to avoid freezing problems.
The room needs to be between 60°F and 80°F. Basements and storage closets are ideal; your home’s heating system keeps them warm enough to maintain the life of the paint.
Always keep your spray paint cans upright. Cans kept upside down or left on their sides have shorter shelf lives.
Perfect Drying in Cold Conditions
Usually, when you start a painting project, it’s best to leave the object alone while it dries to ensure the paint sets properly. This is generally a good rule, but winter conditions can make it tricky.
Different temperatures (warmer temperatures and cold temperatures) and how many coats you apply require different time to dry. The durations break down between temperature range like this:
- 35-50°F takes up to 48 hours to dry
- 50-75°F takes up to six hours to dry
- 75 °F and above takes up to 4 hours to spray paint dry
Remember that excessive moisture, ice, or snow in the air can prolong the drying time. So, as you start spray painting in cold weather, keep these tips in mind to make your project easier and more successful.
In this season, the best approach is to handle your work carefully and bring it indoors for drying between coats in a warmer place, making it easier to deal with the cold.
FAQs
Is it OK to paint in cold weather?
Painting in cold weather is possible but comes with specific considerations. To ensure successful outcomes, choose paint products designed for cold weather, check surface and paint temperatures, and consider using paint heaters. With proper preparation and the right techniques, you can achieve quality results even when the mercury drops.
What’s the best type of paint for spray painting in cold weather?
For cold weather, solvent-based paints would be a preferred choice. They don’t freeze like water-based paints and stick well to cold surfaces, making them ideal for spray painting in the cold.
What should I do if my spray paint has frozen?
If your spray paint has frozen, check it carefully. If you notice lumps or an uneven texture, it’s a sign that the paint may not be good anymore, and it’s safer to throw it away. Most latex-based paints can handle several freeze cycles, but once they get lumpy, they lose their quality.
How should I take care of painted pieces?
To take care of painted pieces in cold weather, handle them with care and, if possible, bring them back indoors for drying between coats in a warmer area. This approach ensures the best results, even when dealing with colder conditions. Proper care while drying will help maintain the integrity and finish of your painted items.
Closing Thoughts
As the temperature drops, you don’t have to put your creative projects on hold. Armed with these pro tips, you can become a master of spray painting in cold weather. Whether you’re breathing life into your outdoor space or enhancing your home’s curb appeal, don’t let the cold weather stop your creative projects.
Check out our expert advice to learn how to keep your spray paint from rubbing off, protecting the finish of your artworks.
For more than 15 years, I’ve been immersed in the world of painting, and I’ve created this website to share my passion and knowledge with fellow art enthusiasts. My artistic journey has led me through various mediums, techniques, and styles, always pushing the boundaries of expression. I invite you to explore the captivating realm of art with me – a journey of creativity, self-expression, and the endless possibilities that painting offers.
Feel free to reach out to me via email at leanna.ange@gmail.com. Whether you have questions, want to share your own artistic experiences, or simply connect, I’m here to engage in the wonderful dialogue that art inspires. Looking forward to hearing from you!


