
Foam board, a beloved material among crafters and costume enthusiasts, offers endless possibilities for creative expression. However, its limited color range can sometimes pose a challenge when you have a specific vision in mind. Wondering, “Can you paint on foam board?”. Fear not! In this detailed guide, we will delve into the fascinating world of painting foam board, providing you with a diverse set of techniques to achieve vibrant and personalized results.
Table of Contents
Foam Borad’s Flexibility and Painting Potential
Foam board, typically composed of a polystyrene or polyurethane core sandwiched between paper or plastic layers, is a lightweight and versatile material. It’s renowned for its flexibility and becomes an even more dynamic medium when painted. Its unique composition offers a set of characteristics that make it a valuable canvas for a variety of artistic pursuits.
The Foam Board Advantages
Texture and Smoothness: One of the standout features of foam board is its smooth surface. When used as a canvas, this smoothness becomes an artist’s playground. Whether you’re working with oil, acrylic, or even watercolor paints, the surface allows for even brush strokes and precise detail work.
Rigidity and Durability: Unlike traditional canvases, which can sometimes be prone to warping, foam board retains its rigidity even when subjected to moisture from paint. This ensures that your artwork remains stable and flat throughout the creative process.
Lightweight and Portable: Artists are often on the move, seeking inspiration in various settings. Foam board is exceptionally lightweight, making it an excellent choice for those who wish to carry their art supplies with them. This portability means you can set up your workspace almost anywhere, from a bustling city park to the quiet countryside.
Cost-Effective: Traditional canvases can be expensive. Foam board, on the other hand, is often more budget-friendly. This cost-effectiveness allows you to experiment with different techniques and styles without breaking the bank
Painting on foam board offers an expansive canvas for your artistic endeavors. But how can you paint on foam board without compromising its essential qualities? Here’s how you can harness the full potential of this unique medium.
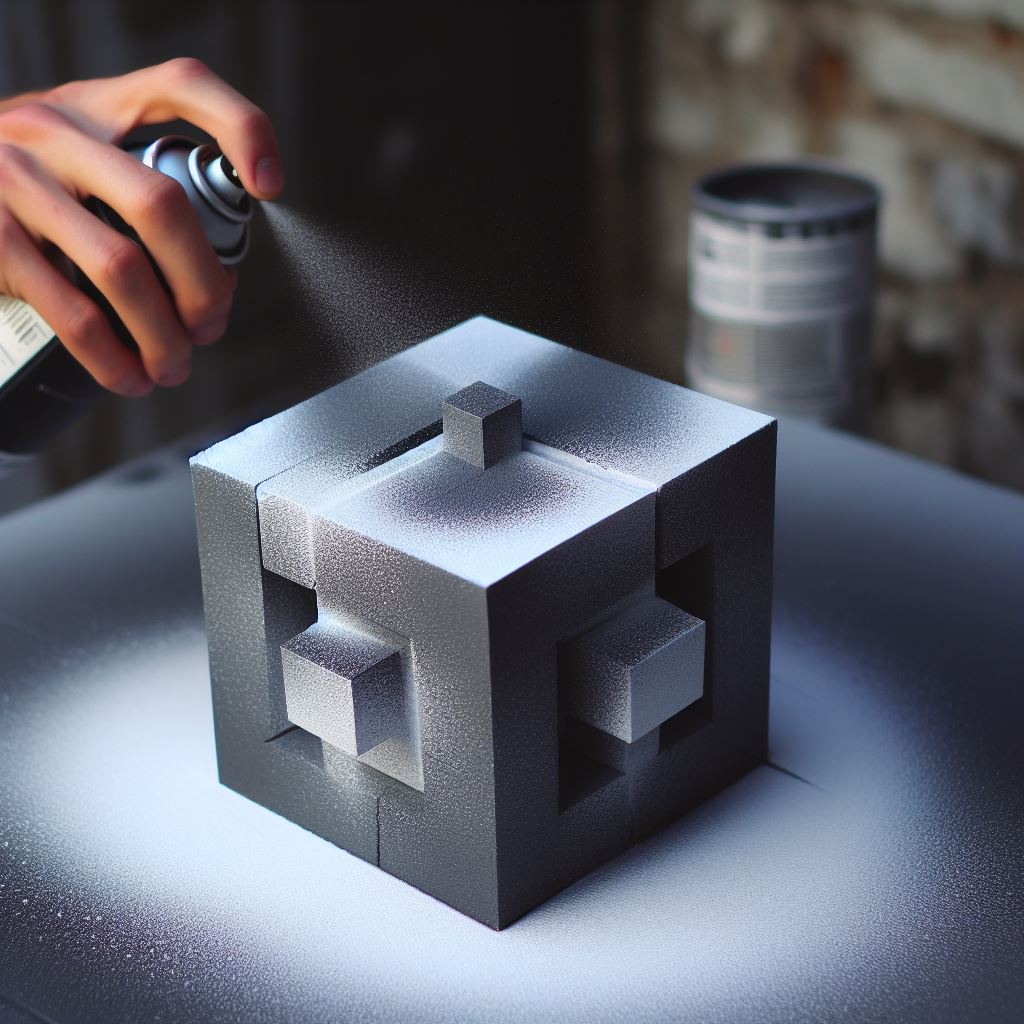
Spray Painting: A Swift and Versatile Technique
Spray painting is an excellent choice for covering large foam surfaces efficiently. It provides a uniform application, and if done correctly, it leaves the foam just as flexible as before. Ensure the spray paint is formulated for foam to avoid any adverse reactions. Hold the can about 10 to 12 inches away from the foam, applying thin coats to prevent warping. Spray painting provides a quick-drying solution, making it an efficient choice for various projects.
Acrylic Painting: Versatility at Your Fingertips
Renowned for their versatility, acrylic paints offer an extensive color palette. They adhere well to foam surfaces without the need for solvents, making them a practical choice. Apply acrylics with brushes, sponges, or even palette knives for various textures. To prevent warping, apply multiple thin layers, allowing each to dry thoroughly before adding the next.
For those looking to add a luminous touch to their foam board creations, our tutorial on How to Paint a Glow Effect with Acrylic provides insights into mastering this captivating technique.
Brush Painting: Precision and Detail
Ideal for detailed and intricate designs, brush painting provides maximum control over your artwork. Water-based or acrylic paints are suitable for this method. Use a soft brush and apply the paint in thin layers to maintain the flexibility and texture of the foam. While this method demands patience, the results can be incredibly rewarding.
Airbrushing: Professional Finishes with Finesse
For a professional finish and seamless gradients, airbrushing is a skillful technique. This method requires an airbrush kit and some expertise. The paint is atomized into tiny droplets, resulting in a smooth application. It’s perfect for creating nuanced effects and gradients that can elevate your craft foam projects.
Foam Rollers: Efficiency for Larger Surfaces
When dealing with larger foam surfaces, like costume pieces or extensive backdrops, foam rollers come in handy. They provide efficient coverage, especially when paired with water-based or acrylic paints. The key here is to work in sections, ensuring the paint is evenly distributed without excessive moisture that could affect the foam.

Step-by-Step Guide to Painting Foam Board
Choose the Right Foam Board
Before you embark on your painting journey, it’s vital to select the appropriate foam board. Foam boards come in varying thicknesses and qualities. Thicker boards are sturdier and better suited for larger projects, while thinner ones are perfect for lightweight crafts. Additionally, you can choose between acid-free foam boards, which are ideal for preserving artwork, or standard ones for everyday projects.
What You Need
- Foam board
- Paint of your choice
- Tape measure
- Pencil
- Masking tape
- Blade or sharp knife
- Safety gear (mask and gloves)
1. Prepare Your Workspace
Ensure proper ventilation to handle paint fumes. Cover your work surface with a broken-down cardboard box, an old vinyl tablecloth, or layers of newspaper. Craft rolls, commonly used for costumes, are also suitable for painting.
2. Choose the Right Paint
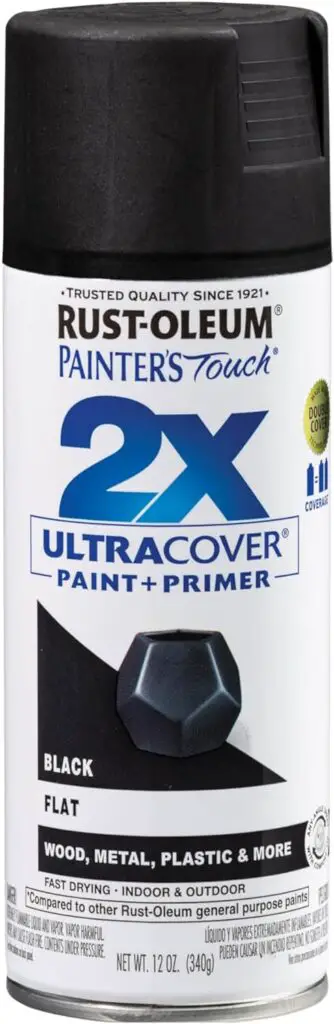
Select a paint brand of your preference, adhering to the instructions on the spray paint bottle. Ensure you shake the can before spraying. For the spray paint, check out the Rust Oleum Painter’s Touch 2X Ultra Cover Spray Paint; it proved to work well in our experience. As the name suggests, the paint promises to provide twice the coverage delivered by other Rust-Oleum paints. Each spray can cover up to 12 square feet, so you can get much done quickly.
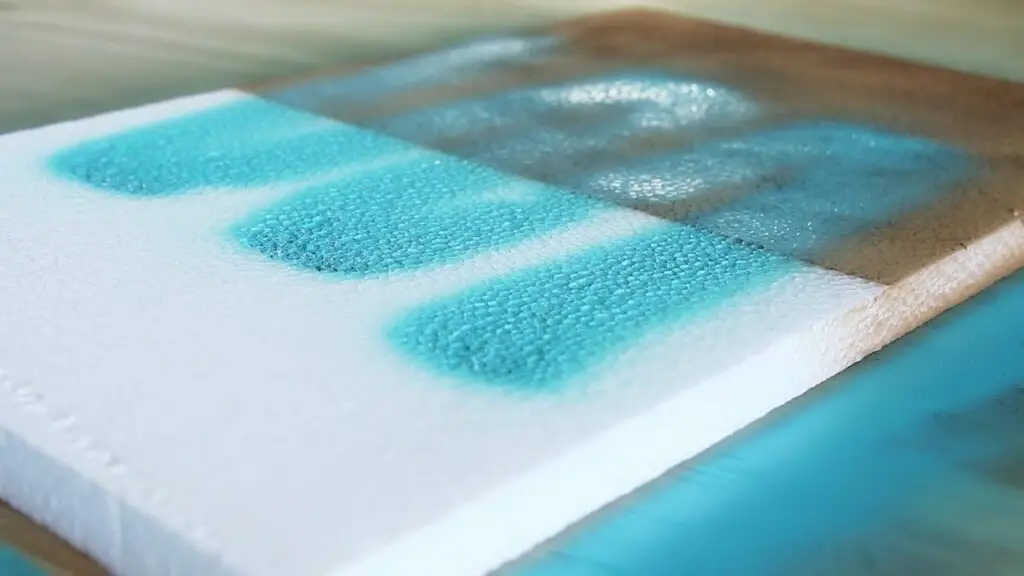
3. First Coat Application
Apply a thin, even first coat onto the craft foam. Allow the first coat to dry; the test showed drying in less than 10 minutes. Check out some other tips on painting foam board.
4. Second Coat Application
Apply a second coat, even if the foam curls slightly at the ends or sides when wet. It will flatten out as it dries.
The foam sheet was dry within 10 minutes after the second coat.
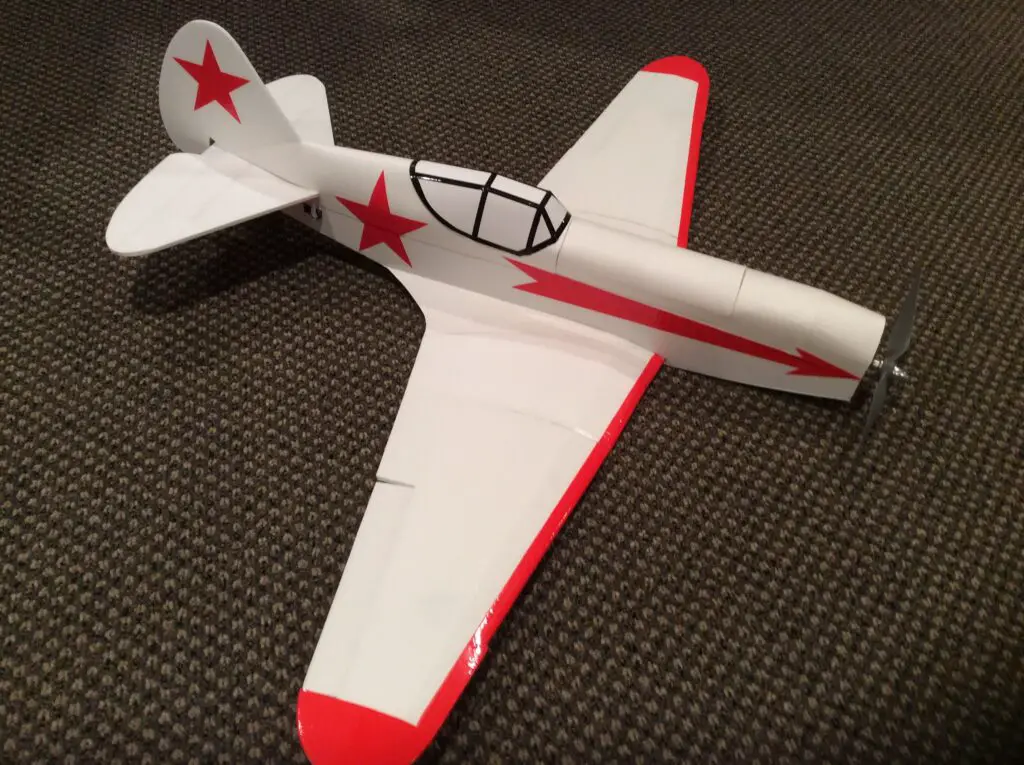
5. Flexibility Test
Once completely dry, test the flexibility of the foam. It should remain as flexible as it was before painting, with no cracks, streaks, or lines.
6. Seal Your Artwork
Once you’ve completed your foam board masterpiece, it’s essential to protect it, as demonstrated by our trials and tests. Seal your artwork with an appropriate fixative or varnish to prevent fading and damage over time. This step is particularly important if your art will be displayed in direct sunlight or in a high-humidity environment. Make sure the sealant is compatible with acrylic or spray paints.
Expert tips
When working with foam board, especially if you’re painting directly onto it, it’s essential to apply your paint thoughtfully. Using too much paint in one go can lead to issues such as the outer paper layer saturating and the edges curling up and detaching as it dries. This is particularly relevant when spray painting; it’s best to start with a fine, even coat, then proceed with subsequent thin coats, allowing each to dry fully before applying the next. This approach prevents the paper from shrinking and curling while the foam beneath remains unaffected. We know this from our own journey and expertise.
The same principle applies to other painting methods like using a brush with acrylic or tempera paints. The key is to be patient, applying thin coats, ensuring each layer dries thoroughly before continuing. And remember, if you’re using spray paint on foam of any kind, it’s wise to conduct a small test first to ensure the desired results.
We’ve explored the fundamentals of painting on foam board, including the choice of paints and various techniques. Now, let’s delve deeper into this fascinating world and unearth some advanced tips, tricks, and inspirational ideas.
Mastering the Art of Blending: Achieving smooth gradients and transitions in your foam board artwork requires a mastery of blending. While airbrushing is renowned for this, you can also accomplish stunning effects with a soft brush. Create breathtaking sunsets, dramatic skies, or underwater scenes by merging colors in perfect harmony. Experiment with different brushes and blending mediums to take your artwork to the next level.
To ensure precise designs on your foam board, referencing techniques from our guide on How to Keep Paint from Bleeding Under Tape can help achieve clean, crisp edges.
Embrace Mixed Media: Don’t restrict your creativity to a single medium. Foam board can be an incredible foundation for mixed media artwork. Incorporate elements like paper, fabric, or even tiny trinkets to add depth and texture. Mixed media allows you to tell a story through your art, making it an even more personal and expressive experience.
Embossing and Texturing: Take your foam board paintings to the realm of 3D with embossing techniques. By adding texture and dimension to your artwork, you can elevate it to a whole new dimension. Try embossing powders or specialized texture pastes to create stunning tactile effects. Whether you want to mimic the roughness of stone or the softness of petals, embossing adds an exciting tactile aspect to your art.
Decoupage for Depth: Don’t restrict your creativity to a single medium. Foam board can be an incredible foundation for mixed media artwork. Incorporate elements like paper, fabric, or even tiny trinkets to add depth and texture. Mixed media allows you to tell a story through your art, making it an even more personal and expressive experience.
Incorporating Resin: For an incredibly polished and professional look, consider adding resin to your foam board artwork. Epoxy resin can be poured over your painting, creating a glossy finish that not only enhances the colors but also offers protection. Whether it’s a tabletop or wall art, resin can take your project from amateur to gallery-worthy.
Layering with Stencils: Stencils provide an easy way to introduce intricate patterns and designs to your foam board art. By layering stencils and using different colors, you can create visually complex and intriguing pieces. From mandalas to geometric designs, stencils offer a shortcut to intricate artwork that would typically require meticulous hand-detailing.
FAQs
Can I paint on foam board?
Certainly, you can paint on foam board. Foam board is a versatile material often used in various art and craft projects. The key is to choose the right type of paint and apply it correctly to ensure the best results. Techniques like spray painting, acrylic painting, brush painting, and airbrushing are suitable for foam board, allowing you to achieve a range of creative effects.
What kind of paint can be used on foam board?
You can use various types of paint on foam board, but acrylic paint is a popular and effective choice. It adheres well to foam board and provides vibrant colors without the need for solvents. Spray paint formulated for foam is also a suitable option for efficient coverage.
How do you prepare foam board for painting?
To prepare foam board for painting, start by ensuring a clean and dust-free surface. You can gently wipe it down with a dry, clean cloth. If your foam board has any imperfections, you might want to sand it lightly to create a smoother painting surface. Afterward, apply a primer, like gesso, in a thin, even coat. This primer helps the paint adhere better and prevents the foam from warping.
Does acrylic paint stay on foam board?
Yes, acrylic paint adheres well to foam board and can provide lasting results when used correctly. It’s essential to apply acrylic paint in thin layers to maintain the flexibility and texture of the foam. Multiple coats can be applied, allowing each to dry thoroughly before adding the next. This method ensures that acrylic paint remains on the foam board without peeling or cracking.
Conclusion: Unleash Your Imagination
Painting craft foam is not just a technique; it’s a gateway to boundless creativity. With the right approach, you can achieve stunning, flexible, and crack-free results. Embrace the freedom to create custom-colored foam for your next project, and let your imagination run wild. The vibrant world of personalized craft foam creations awaits your artistic touch!
Try new techniques, blend colors with finesse, and embrace mixed media to elevate your art. Whether you’re an experienced artist or a curious beginner, foam board welcomes all to its colorful world of boundless expression. So, set up your workspace, choose your paints, and let your artistic journey on foam board begin.
If you are working with plastic surfaces, check out our article “How to remove spray paint from plastic without damaging“.
For more than 15 years, I’ve been immersed in the world of painting, and I’ve created this website to share my passion and knowledge with fellow art enthusiasts. My artistic journey has led me through various mediums, techniques, and styles, always pushing the boundaries of expression. I invite you to explore the captivating realm of art with me – a journey of creativity, self-expression, and the endless possibilities that painting offers.
Feel free to reach out to me via email at leanna.ange@gmail.com. Whether you have questions, want to share your own artistic experiences, or simply connect, I’m here to engage in the wonderful dialogue that art inspires. Looking forward to hearing from you!